


Even as a beginning blogger, I know how important social media is in order to get connected with other bloggers and grow your audience. Personally, I like when I can easily navigate to other bloggers' social media right through their home pages. That's where cute little social media buttons come in handy! If you've spent hours scouring the Internet for cute social media buttons that actually go with your blog design, you're probably pretty fed up with these buttons. I was! Then, I decided to create my own buttons that match my color scheme and took practically no time to make. Now I'm here to show you how to do the same thing.
Step 1
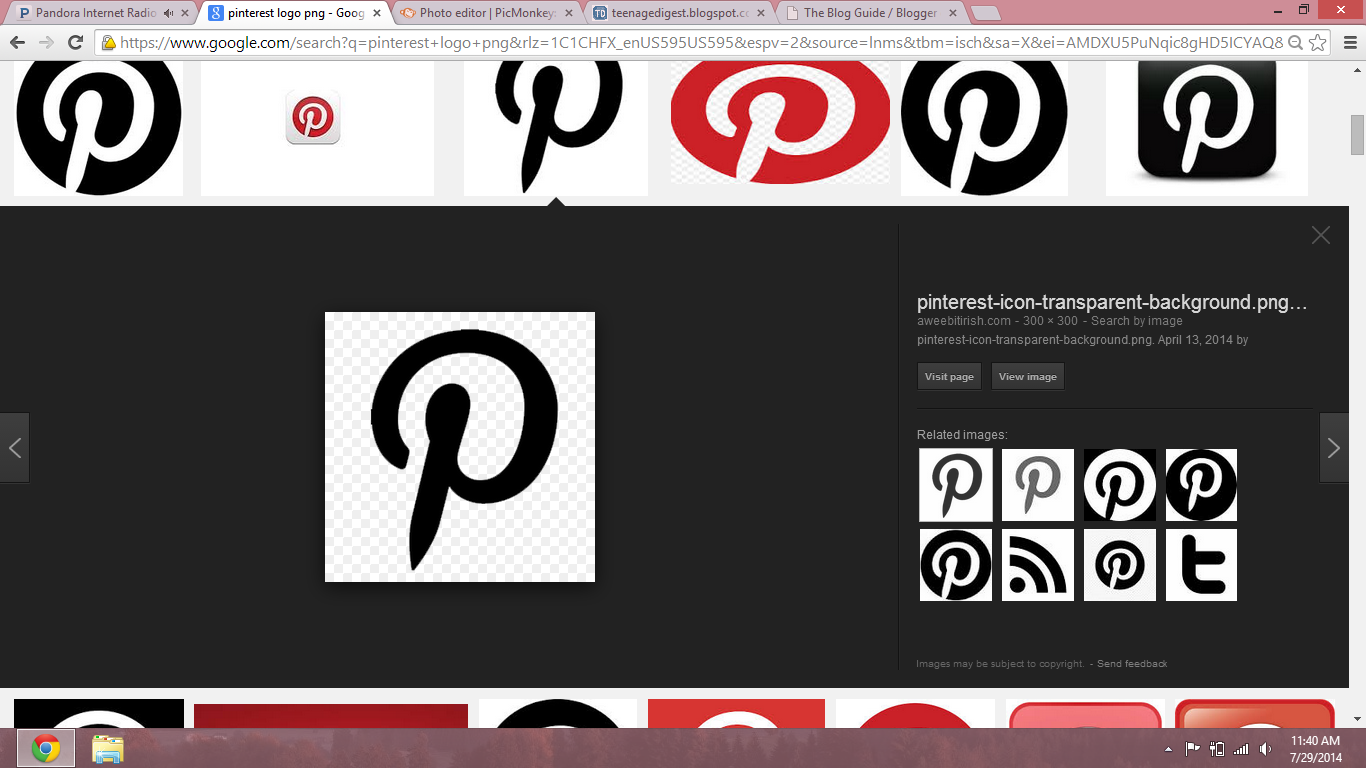
Find a png of your desired social media logo. To find this one, I simply typed "Pinterest logo png" into Google. The background of your image should be a checkerboard, like in the screenshot above. This means that everything except for the logo will be transparent.

Go to PicMonkey.com, and click on "design" at the top. The "canvas color" box will open up on the sidebar. Choose the box for a transparent canvas. Now is the fun part-designing your button! Choose the butterfly symbol over on the far left and use the overlays to make your design.
Step 3

Click on the "your own" button at the top of the overlays page. Upload your logo, change the color or size if needed, and add it to your button.
Step 4

Next, click on "save" at the top of the page and name your button so you can easily find it later. You can resize your button here if you need to.
Step 5

Go to your blog and open up a new post. If you're going to be adding more buttons later, it helps if you name this post something like "Social Media Buttons" so you can use it again and know not to actually post it. Insert your image and highlight it, then click on link. Add the link to your social media account. Then, go to the HTML tab and copy the HTML code of your image.
Step 6

Go to your blog layout and add a new gadget. Scroll down the list to find the "HTML/JavaScript" gadget. Add a title if you want, then paste your code into the content box. This step might be different for other social media platforms.
Step 7

Post your gadget and test it to make sure your link is correct.
Congratulations! You just made your own social media button. Simply repeat the process for an other social media account you need, then stand back and admire your handiwork!
Emily,
ReplyDeleteThanks so much for this post! I made my own buttons for my blog (like you I couldn't find any to match my blog), but it seemed like way more work than how you do it! I have been thinking about doing a slight re-design of my page, but did not want to think about redoing my social media buttons. With this info it should be way easier! :)
Danielle
P.S. If you ever post any type of recipe or food, feel free to join my "What's Cooking Wednesday" link up!
I'm glad I could help! If you have any questions, feel free to ask. And I certainly will check out your link up, although I'm not much of a cook...Ramen noodles and scrambled eggs are my specialties! :)
ReplyDeleteThanks for linking up! I've added this to our Pinterest Parties board :)
ReplyDeleteMegan
theofficialblogguide.com
Thanks for the advice! Helped a lot xx
ReplyDelete